This simple, paper towel mask is based on thesetwo videos. You put the rubber bands around your ears, and the mask unfolds around your nose, mouth and chin.
In this method I add a card pleater to speed up the folding.
Warning: this is not a medical device. I make no guarantees about its efficacy.
To view the video in higher resolution, right click on the video and click 'view video'.
For each mask, you will need:
2 sheets of paper towel
1 paper napkin
2 rubber bands
Optional, for nose crimp: picture framing / craft / thin electrical / gardening wire, 30cm long.
For the maker, you will need:
Stapler and staples
Two large pieces of card / thin cardboard, (approx. 34 x 28cm, and 34 x 24cm).
Ruler (preferably metal)
Scissors
Large piece of flat wood (approx. 80 x 80cm or larger) for the base, preferably laminated for easy cleaning.
Screwdriver and screws.
Optional: Two thin pieces of wood to make pleater stops. (approx. 5 x 20 x 0.5 cm each)
Instructions to make each mask (after the mask maker has been completed):
Flatten out both card pleaters.
Place the first pleater onto your surface, so that the first fold is pointing up (V shape.)
Place one sheet of paper towel onto the first pleater, it should line up with the first fold.
Place the paper napkin in the center of the paper towel.
Place the second paper towel on top, try to line it up neatly.
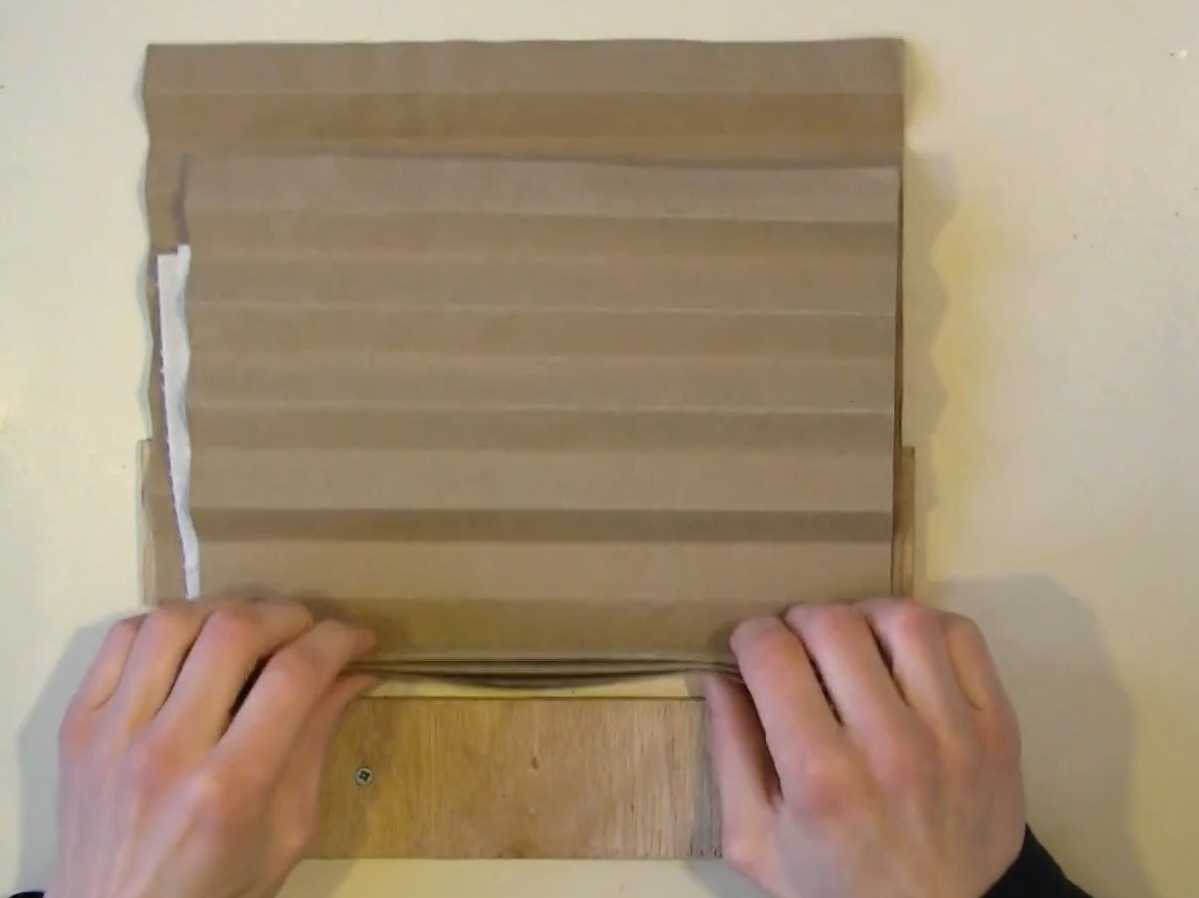
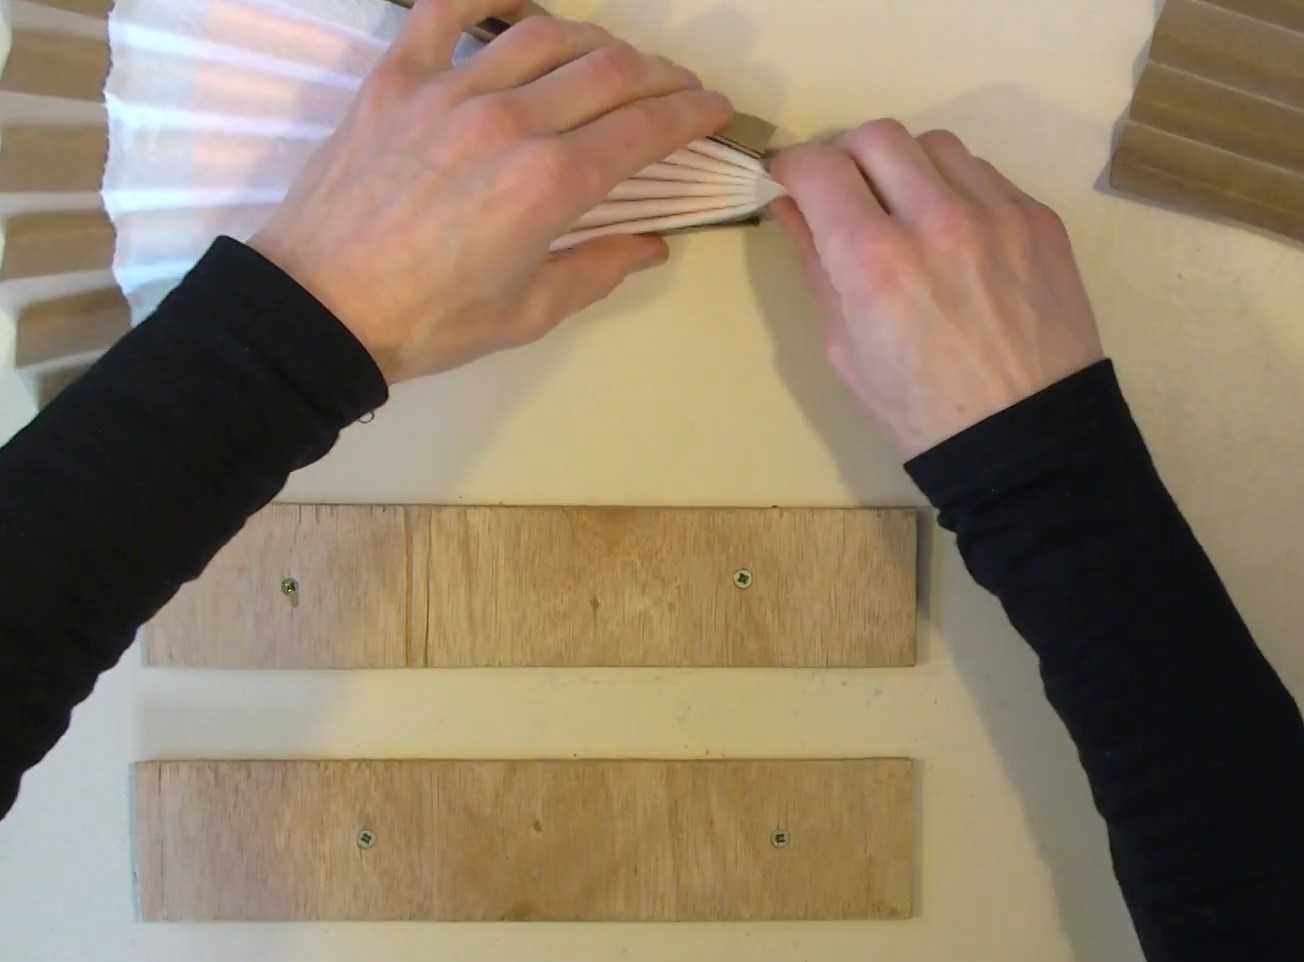
Place the second pleater on top. Get the first V fold in place. Grab the entire assembly by the first fold, and then use the the two wooden pleater stops to push against as you make each fold. These are not really necessary, they will just speed things up if you are making a lot of masks, and help to get more accurate folds.
When the whole assembly is folded together, compress it with your fingers.
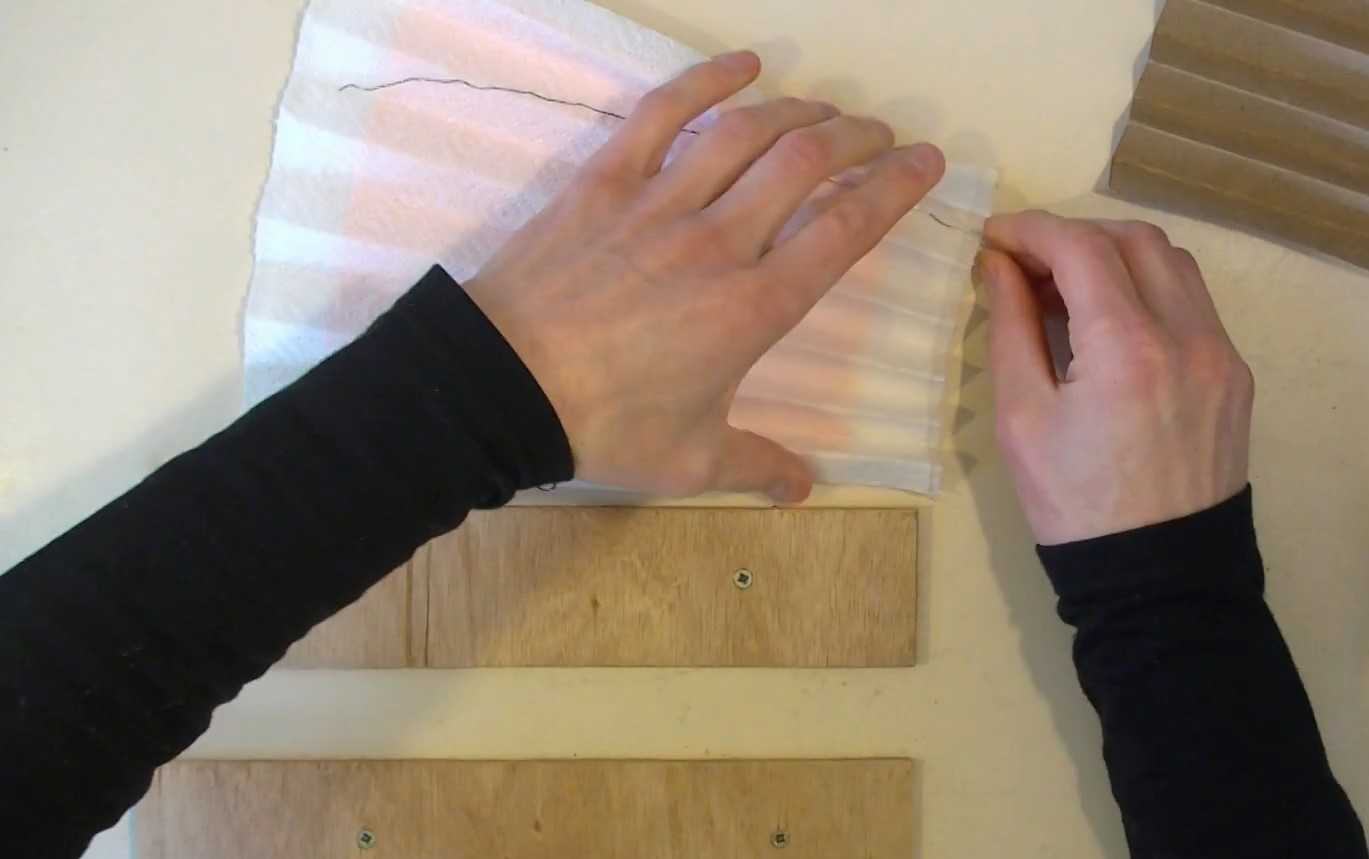
Place it down, and remove the top card.
Carefully slide the paper towels out of the bottom card
(Optional) Place a length of wire in the first or last fold. This is for the nose crimp.
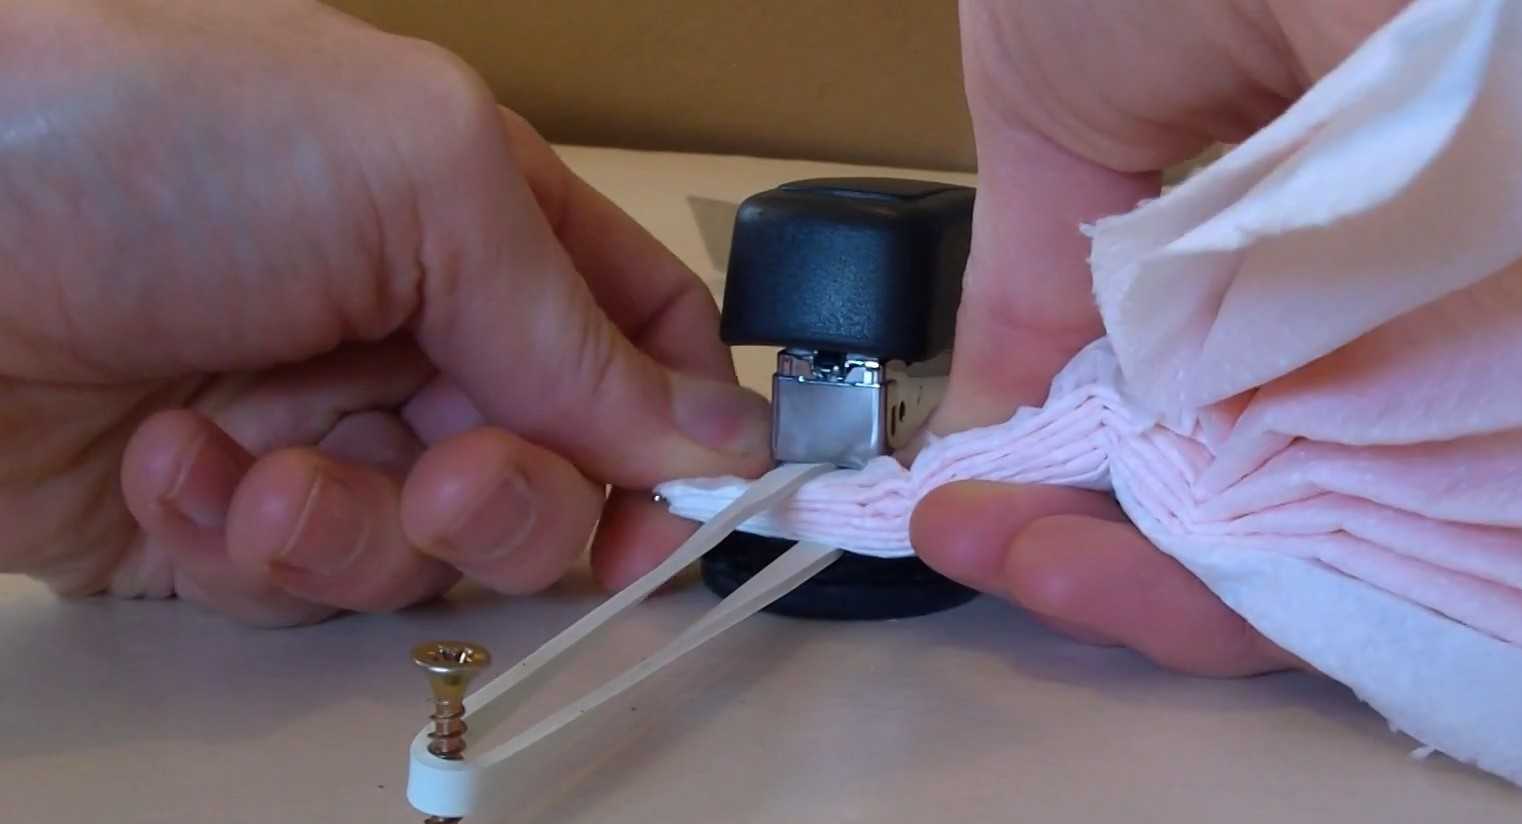
Draw the folds together, and pinch one end firmly between your fingers, making sure the wire is tucked into the fold.
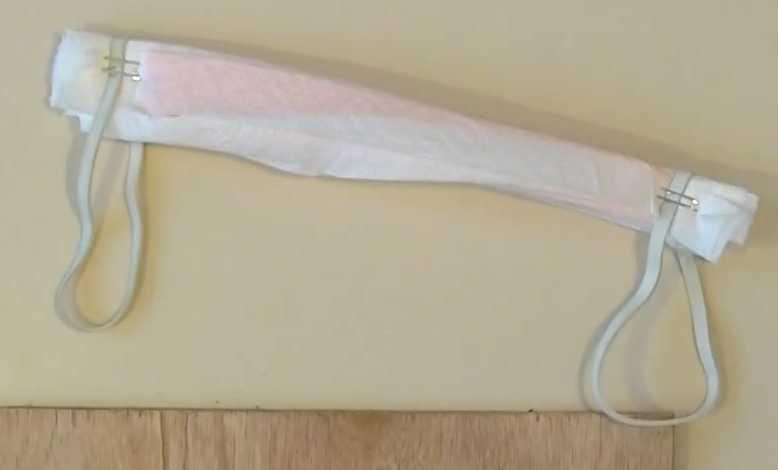
Wrap a rubber band around this end, place into the stapler, and put two staples in.
Avoid puncturing the rubber band with the staples. This will mean you can re-use the rubber band (after disinfection).
Press the stapler down as firmly as you can, since the mask is quite thick with all the folds.
Turn this side of the mask over and put in two more staples. This will ensure the mask and the rubber bands will stay together.
Repeat on the other side. You should use 8 staples all together.
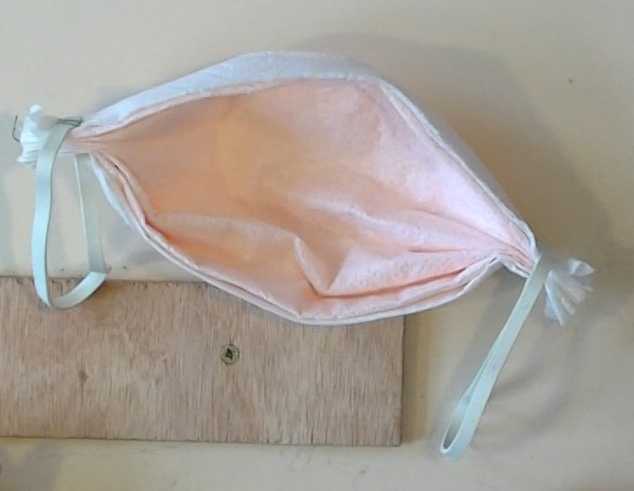
Using the mask
Pull the folds apart by holding opposite sides of the center of the mask. If you have used the optional nose crimp wire, find it by feeling the folds, and ensure this side is the top.
Place the rubber bands around your ears.
Pull the top and bottom center of the mask around your nose and chin.
Shape the wire around your nose.
Instructions to make the mask maker:
The base:
Use a flat piece of wood approx. 80 x 80cm, although larger or smaller would still work. Preferably use laminated wood. This makes it easy to clean.
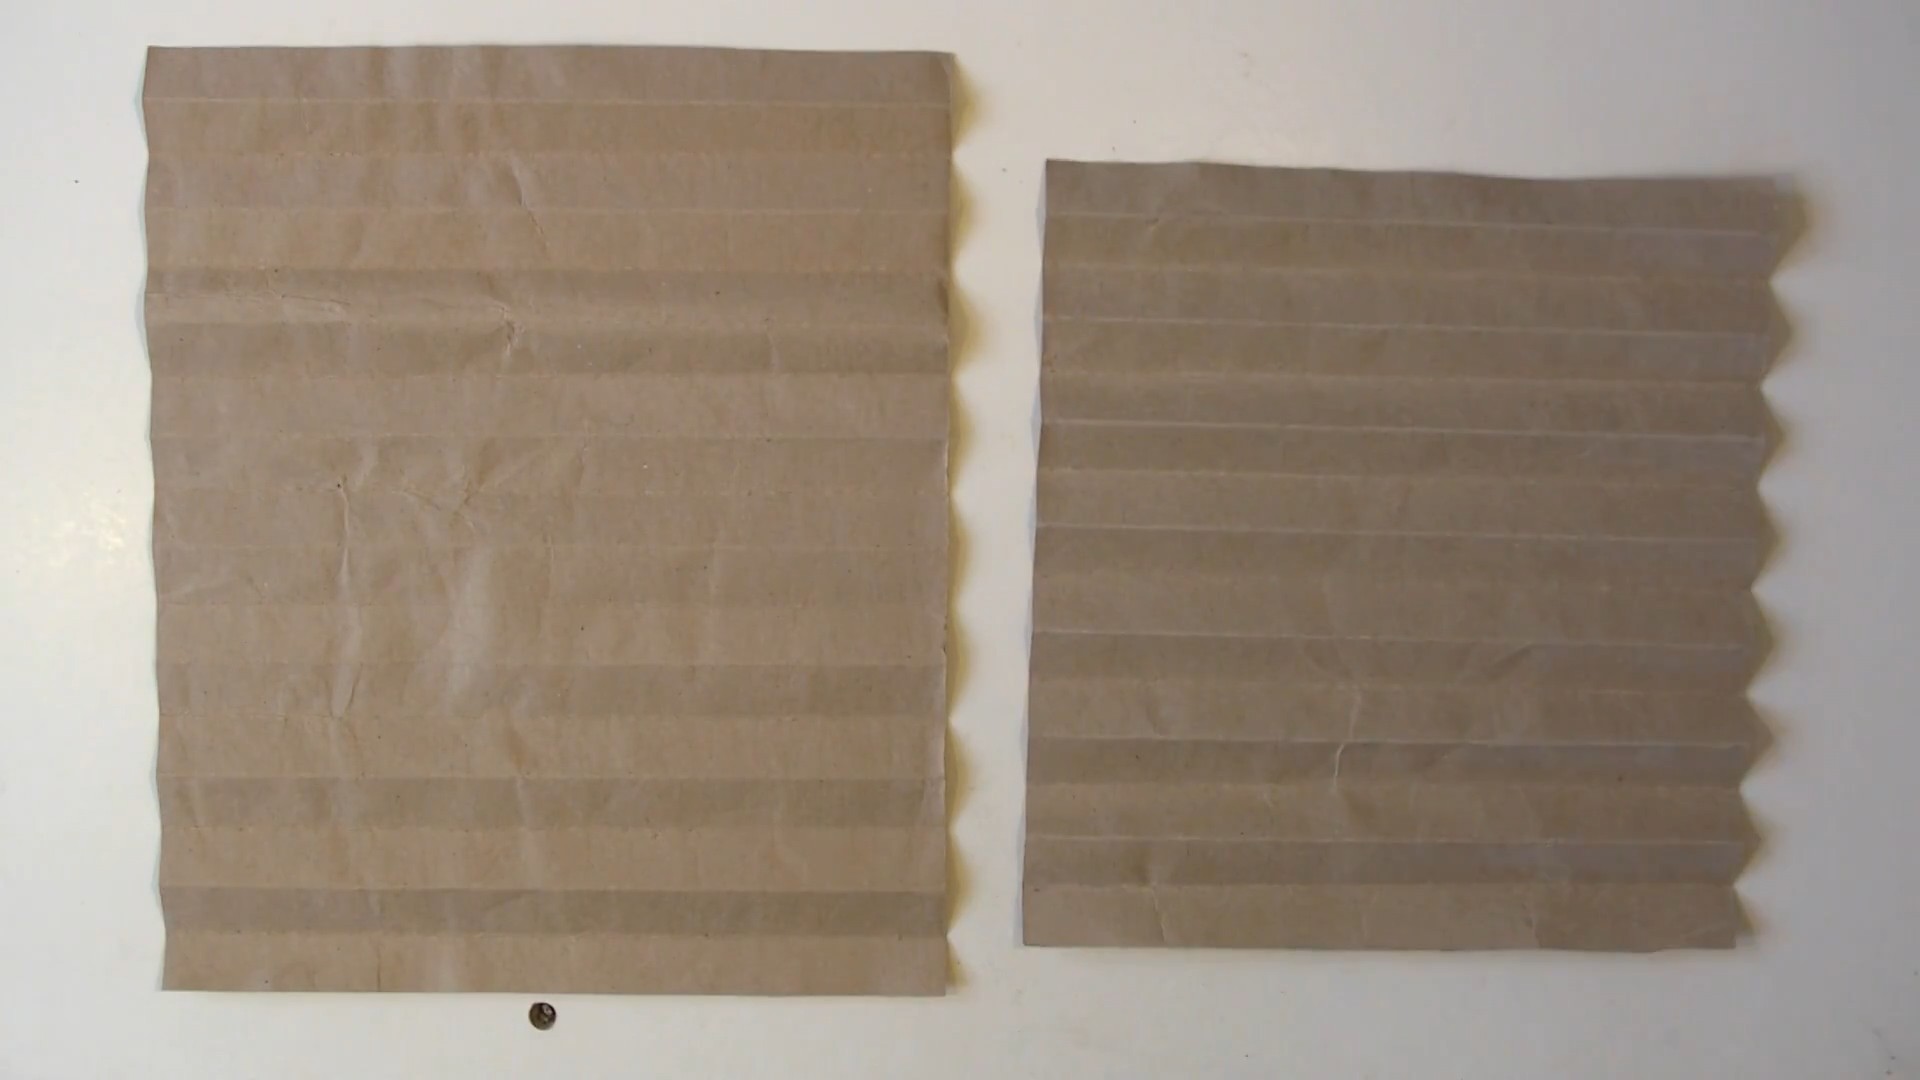
The card pleaters:
Cut two pieces of card, approx. 34 x 28cm, and 34 x 24cm. The different widths makes it much easier to separate the two sides after folding.
Make pencil marks every 2cm along each of the longer (34cm) sides.
Score along these lines with a blunt knife or scissor edge.
Use the table to make the first fold, then turn the card over and use the table to make the second fold. Repeat until every fold is done. To make a slightly sharper fold, fold the entire thing the other way.
Repeat for the second card pleater.
The pleater stops:
Fairly straightforward. Just cut two pieces of thin wood, approx. 5 x 20 x 0.5 cm each, and screw them to the base so that they are about 3cm apart.
These pieces cannot be too high, since it would interfere with the drawing in the folds of the pleat.
The stapler:
This step is optional. You can just keep the stapler with one hand while stapling the mask. However securing it on a board speeds things up and makes it less awkward.
Put three screws into the base board, around the back of the stapler, so you can push against it.
Place a screw into the base board, about 8-10 cm in front of the stapler. This is to hold one end of the rubber bands. The suitable distance from the stapler depends on the length of the rubber bands.
CC0 1.0 Universal (CC0 1.0). Public Domain Dedication